How to Produce Color Variation Images Efficiently|Shoot One Color, Cover Them All
Color variations are one of the quietly expensive parts of running an apparel store. The same style in five colors means five times the images — five times the shooting, the retouching, and the catalog uploads.
This article breaks down why color variation work balloons, then walks through a realistic workflow for covering every color from a single base shoot.
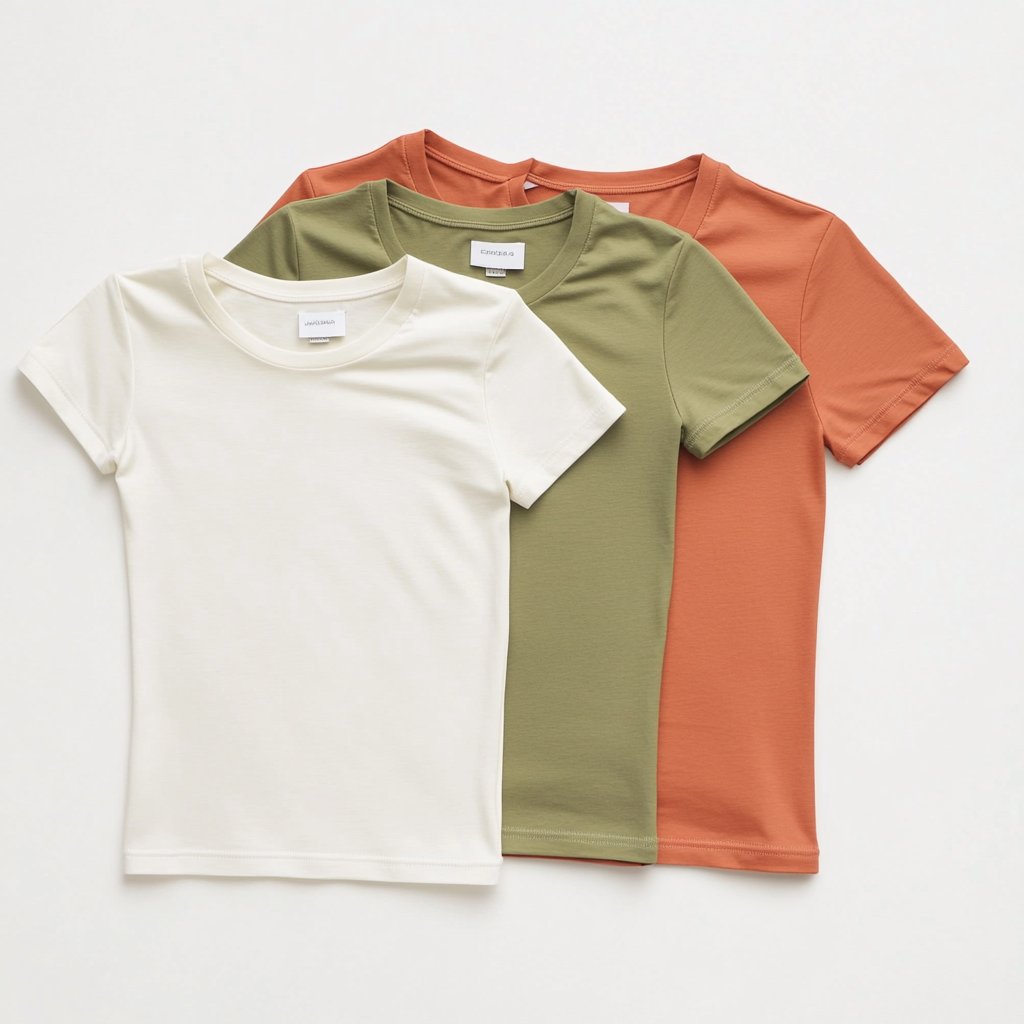
Three reasons color variation work balloons
1. Shots multiply by colors × angles
Three angles across five colors is fifteen images — for one style. Ten new styles means 150. On shoot day, changing outfits and resetting between colors eats the clock too.
2. Results drift between colors
A color shot on a different day picks up a different light temperature. Poses don't quite match. Lined up on the product page, the variations stop looking like the same garment.
3. Colors that don't sell cost the same
You can't know in advance which color moves. You end up paying the same shooting cost and effort for colors that barely sell.
The idea: shoot one color properly, expand the rest
Flip the approach. Instead of shooting every color, prepare one reference color carefully and expand the rest on the image side.
The flow is simple:
- Pick a reference color — choose the one that shows texture and detail most clearly. Mid-tones carry more information than white or pale shades because the shadows read.
- Shoot the reference product photo — white background, wrinkles smoothed, straight on. The quality of this single frame sets the ceiling for every color.
- Generate the on-model images — turn the product photo into on-model shots, fixing your angles here.
- Expand the other colors — swap in each color's product photo and repeat the same steps.
- Review them side by side — line up all colors and check that pose, framing, and brightness match.
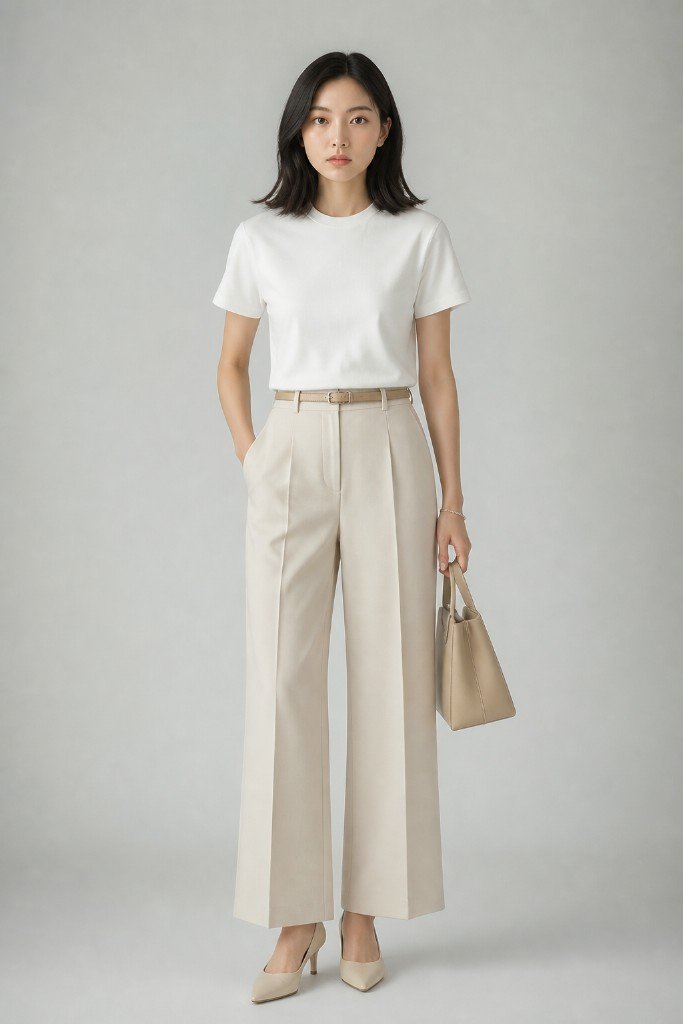
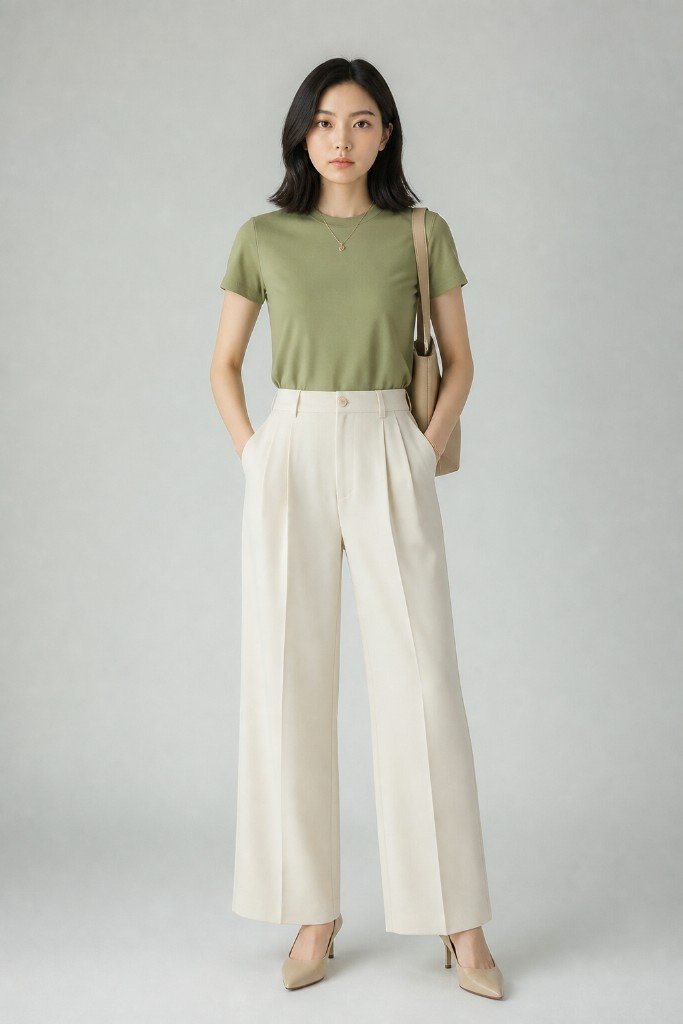
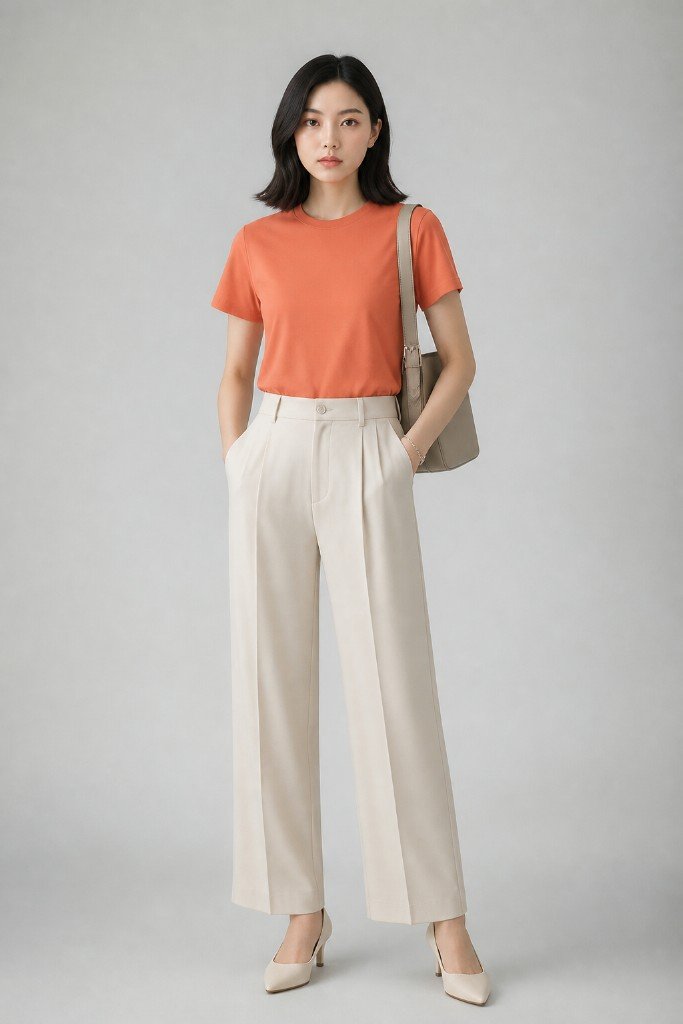
The key benefit is that pose and framing stay identical across colors. When a person changes clothes and re-shoots, small differences always creep in. Generating from product photos lets you swap only the color while holding everything else constant.
How to shoot the reference product photo
Since every color inherits from this one frame, it's worth being careful here.
- White background, natural light or a ring light — shoot somewhere the color won't shift
- Steam out wrinkles and creases — faster than fixing them afterward
- Straight on, from enough distance — with a phone, step back and zoom to reduce distortion
- Shoot details separately — close-ups of buttons, weave, and tags are useful on the product page
Color checks before you publish
The worst outcome in variation work is a complaint that the real item looks different. Generated or not, check the following before publishing.
- Compare against the physical item — monitor settings mislead; hold the actual garment next to the screen
- Watch the confusable pairs — beige/ivory, navy/black, and charcoal/grey blend into each other most easily
- Check pattern continuity — on stripes and checks, look for unnatural seams or direction
- Verify color name to image mapping — mix-ups at upload are common and lead directly to returns
Most stores add a "colors may appear different depending on your monitor" note. That's standard, but don't lean on it — improving the image itself does more for your return rate.
Adding colors once you see what sells
Another advantage: you can change the order of operations.
The old sequence was buy every color → shoot every color → publish. If you can expand on the image side, you can publish the main colors first, watch the response, then add the colors that move. Shooting lead time stops being the bottleneck on your launch schedule.
Summary
Color variation workload scales with colors × angles. Shooting every color the same way puts you at a disadvantage as the count grows.
Prepare one solid reference product photo, generate on-model images from it, and expand the remaining colors the same way. Pose and framing stay aligned while the workload shrinks. Then spend your human attention where it matters — the color check before publishing.
With Sugata Studio, one product photo produces multi-angle on-model images, so color expansion runs through the same steps. Try it with a single color from your current catalog and see how it lands.