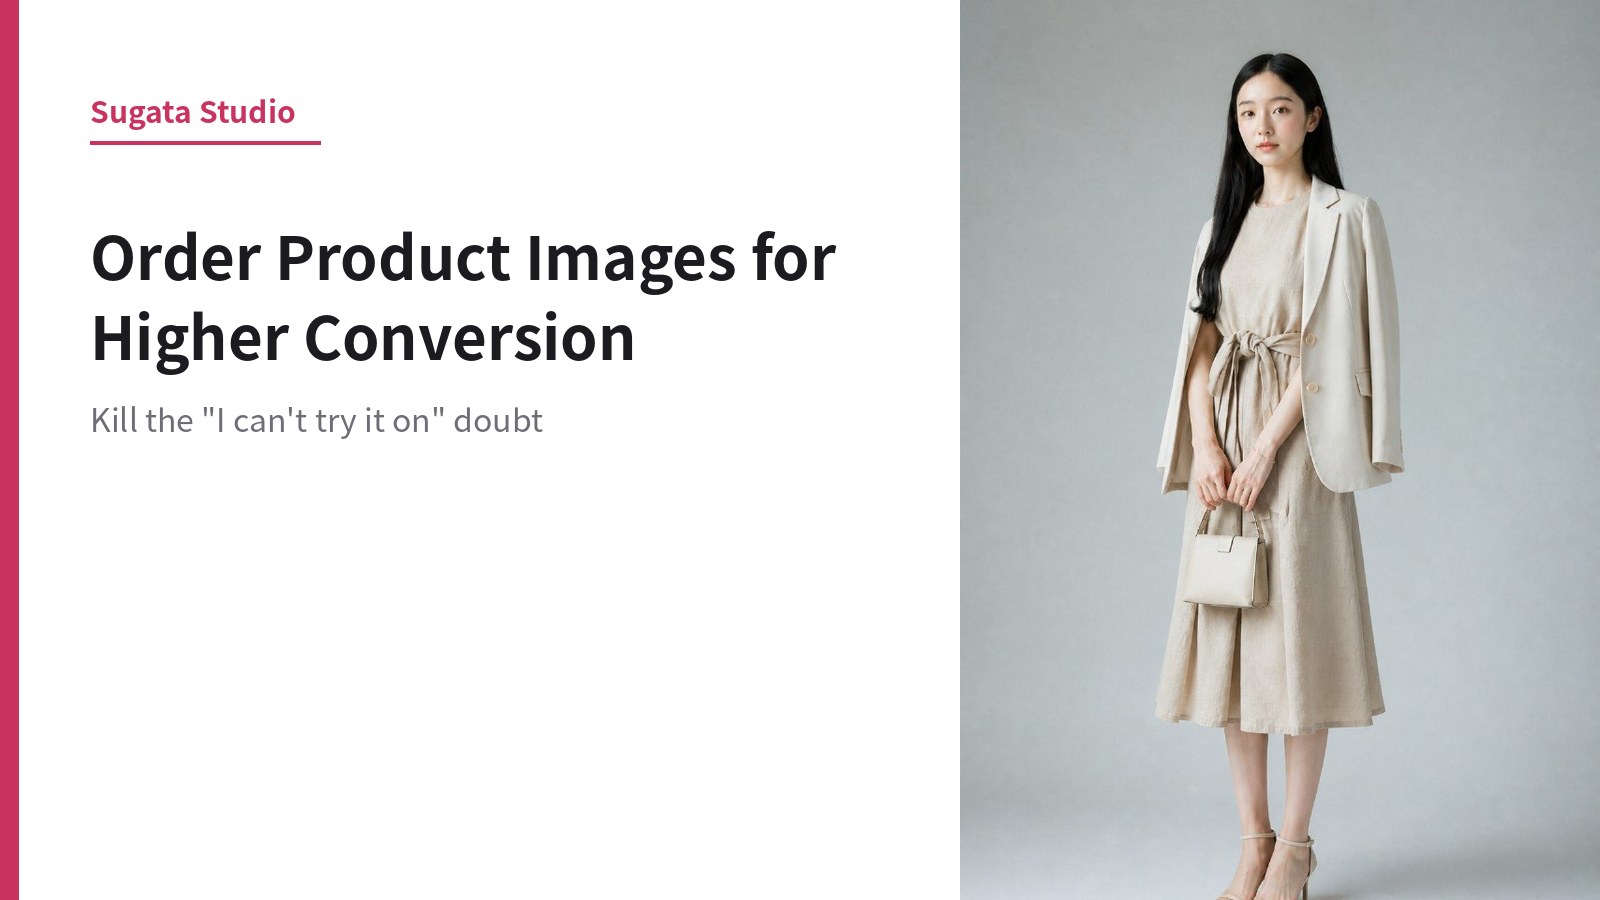
How to Order Product Images for Higher Conversion|Kill the "I Can't Try It On" Doubt
Traffic reaches the product page, but nothing goes in the cart. In apparel e-commerce this usually isn't a price or product problem. More often, the last step is blocked by uncertainty about how the item will actually look worn.
In a store, a fitting room resolves that. Online, only images can. This article lays out a concrete way to order your images so those doubts get answered before they stop the sale.
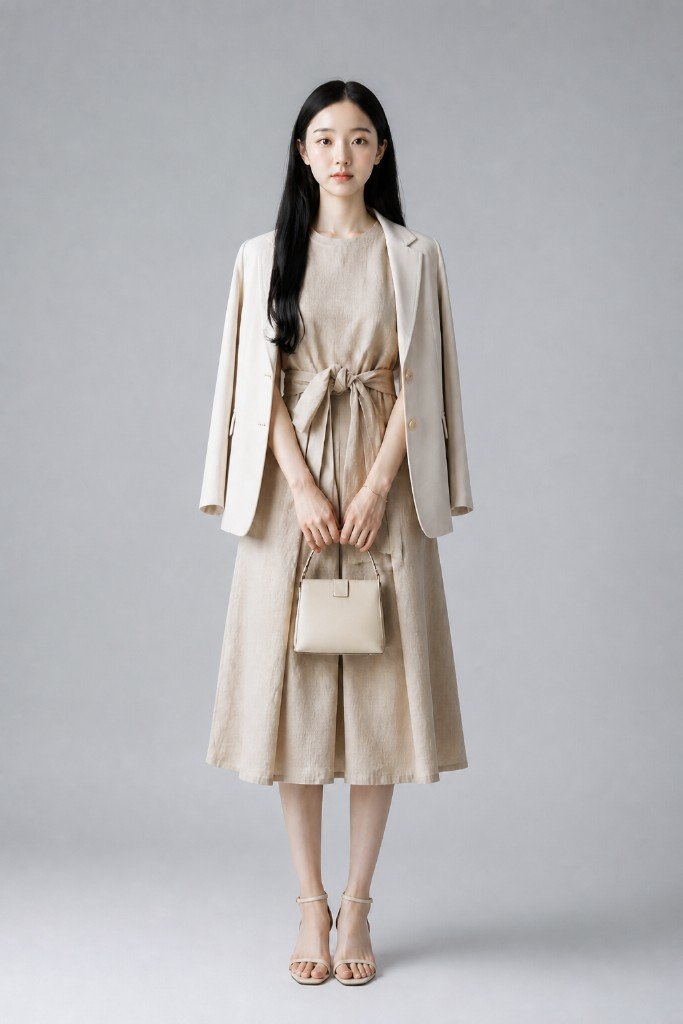
The four questions shoppers ask before buying
Just before the buy button, most customers are asking roughly this:
- Fit — how long and how wide will this be on me?
- Silhouette — what's the volume from the side, how does it follow the body?
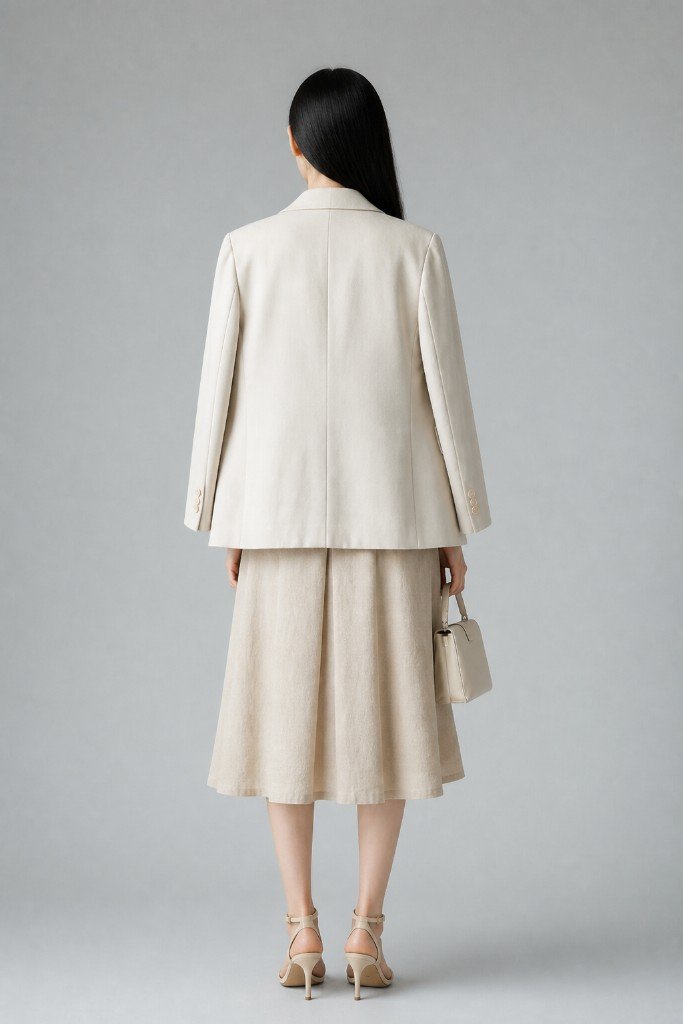
- Back view — what does the back look like, how does it sit over the hips?
- Fabric — does it drape or hold structure, is it sheer?
Plenty of stores try to answer this in the description copy, but text doesn't get read. The decision happens in a few seconds of scrolling, so images are the fastest path.
Mapping angles to questions
Map each question directly to a shot.
| Question | Angle | What it shows ||---|---|---|| Fit | Front (full body) | Length, shoulder width, proportion to height || Silhouette | Side | Depth, drape, body line || Back view | Back | Back design, hip coverage || Fabric | Close-up detail | Weave, sheen, stitching |
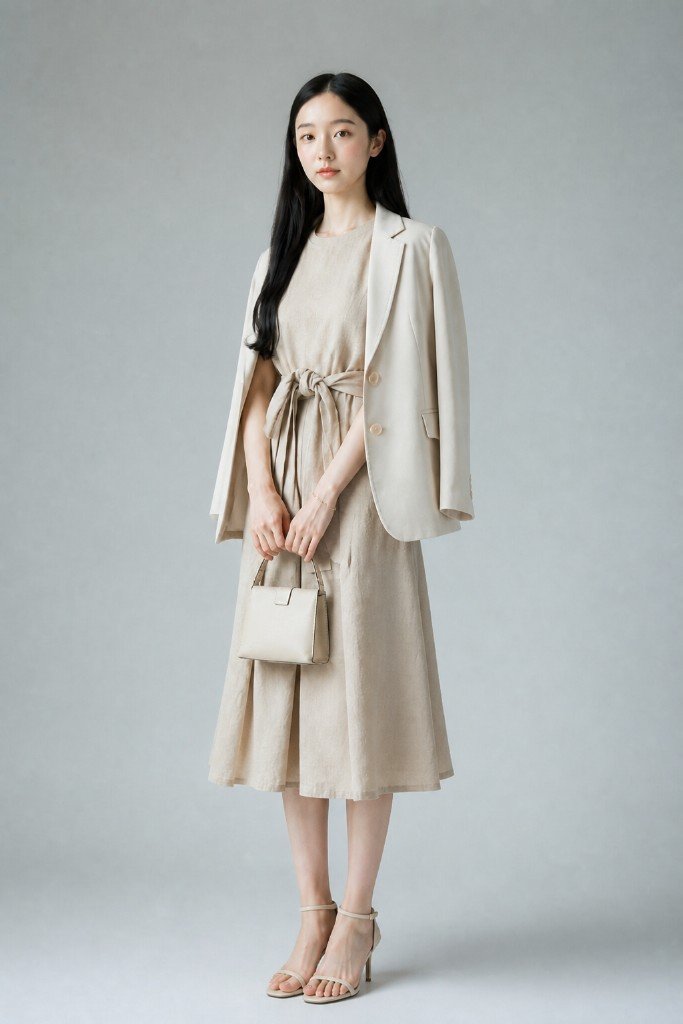
The 45-degree three-quarter sits between front and side and does the work of conveying dimensionality. If you add only one shot, add this one.
The order to place them in
Having the angles isn't enough — the sequence moves conversion.
- First: front on-model — say what the product is in one second. If a marketplace mandates a main-image format, lead with that and put this second
- Second: 45-degree — fills in dimensionality and silhouette
- Third: back — clears the back-view doubt here
- Fourth: side — shows depth and line
- Fifth onward: detail close-ups, flat lay, styling — fabric and measurement support
The principle is biggest doubt first. Order shifts by category: for dresses and outerwear the side silhouette matters most, but for a top with a back print, the back view belongs in slot two.
It affects returns, not just conversion
Multi-angle imagery doesn't only lift add-to-cart. It narrows the gap between expectation and delivery, which cuts return and exchange reasons.
The top return reasons in apparel are "doesn't fit" and "not what I expected." The first is a measurements-table problem; the second is an image problem. If sales rise but returns rise at the same rate, shipping and re-inspection eat the gain. Conversion and return rate should be read together.
Inconsistency backfires
One caution: if the angles don't look like they belong together, you create distrust instead of confidence.
- Different model or light temperature between front and back
- One angle shot on a different day, with the color shifted
- Retouching applied at different strengths per cut
These gaps prompt the thought "is this even the same item?" The goal of multi-angle isn't more files — it's more information about the same thing under the same conditions. Whether shooting or generating, prioritize consistency.
Covering every angle without the workload
Shooting four or five angles across an entire catalog is heavy: scheduling, model hours, and retouching, all multiplied by SKU count.
Generating multi-angle on-model images from a single product photo compresses that. Because every angle starts from the same source image, model, lighting, and processing align automatically — which structurally avoids the consistency problem above.
The practical setup: prepare the main image to marketplace spec, then fill the sub-images with the multi-angle on-model set.
Summary
Drop-off on product pages usually traces back to the "can't try it on" doubt. Map the four questions — fit, silhouette, back view, fabric — to front, 45-degree, back, side, and detail shots, and order them biggest doubt first. That alone changes how much your page explains.
And when you add angles, make consistency the priority. Mismatched images get worse the more you add.
With Sugata Studio, one product photo generates front, 45-degree, side, and back on-model images under consistent conditions. Try it on a single product page and compare before and after.